

AMP Analysis.
Analysing a website’s AMP version and handling its issues.
How to use SEO Spider to bulk validate AMP pages with the official validator. See how to enable AMP crawling, read the 17 filters of the dedicated tab and check only the AMP URLs in List mode.
Crawling AMP
Screaming Frog lets you analyse Accelerated Mobile Pages (AMP) quickly and efficiently, using the official AMP validator to bulk validate URLs.
The analysis highlights common SEO issues and validates pages by checking the required HTML markup, the HTML elements forbidden by the specification and more.
There are currently two ways to analyse and validate AMP:
- Crawl a site to check AMP and review the data in the AMP tab.
- Upload and check AMP URLs separately.
Crawling a site for an AMP SEO audit
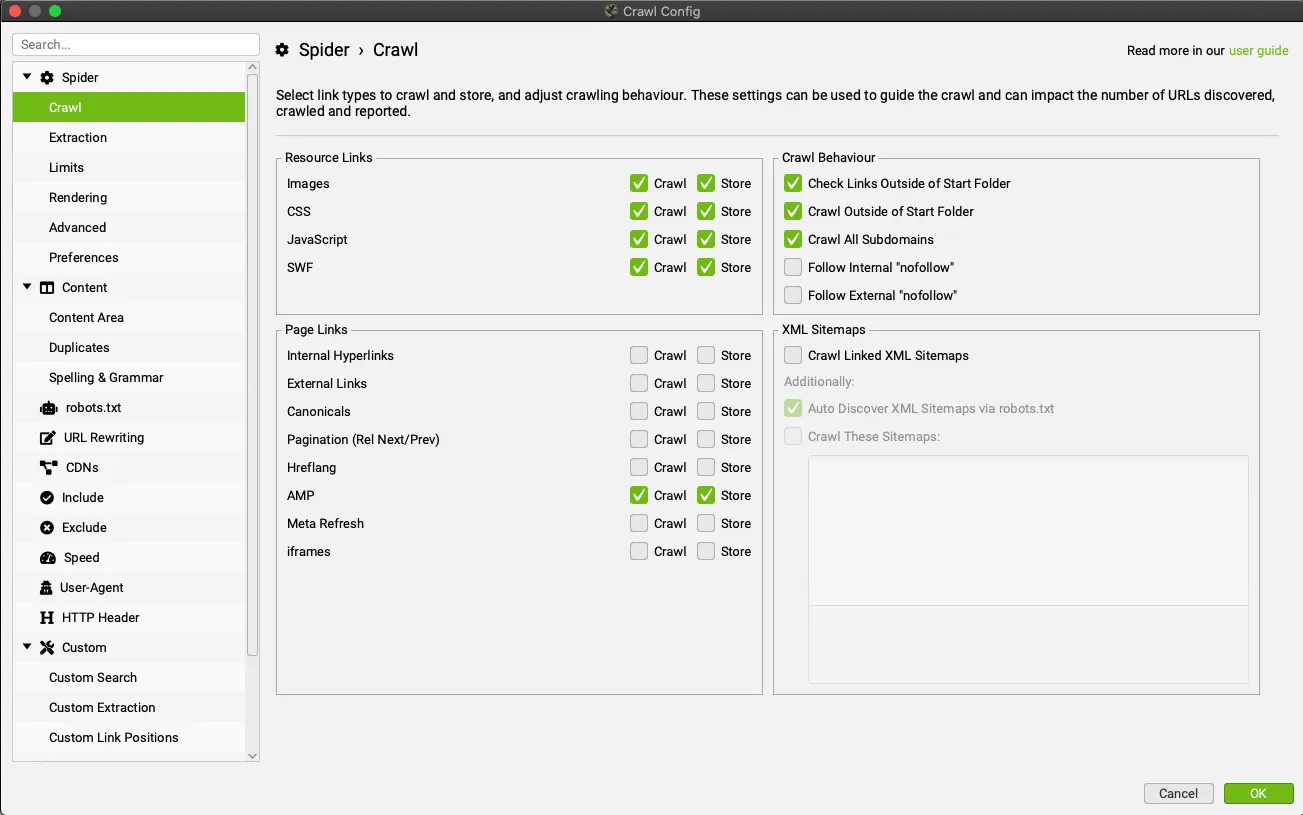
First, enable the AMP option (Crawl + Store) in 1Configuration›2Spider›3Crawl and start crawling the website.
Reviewing the AMP data
When the crawl ends, click the 1AMP tab, which lists every AMP URL found, and choose from the 17 available filters to identify common SEO or validation issues.
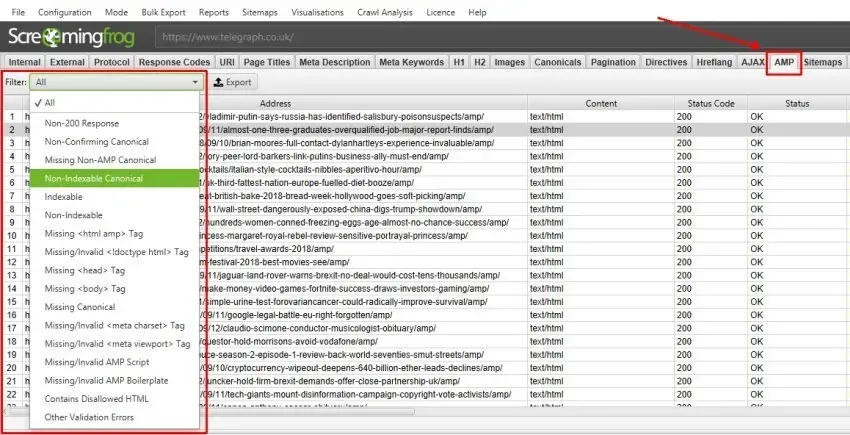
Fifteen of the 17 filters are available straight away, while “Non-200 Response” and “Missing <html amp> Tag” are populated by running Crawl Analysis, which you configure in 1Crawl Analysis›2Configure by selecting AMP.
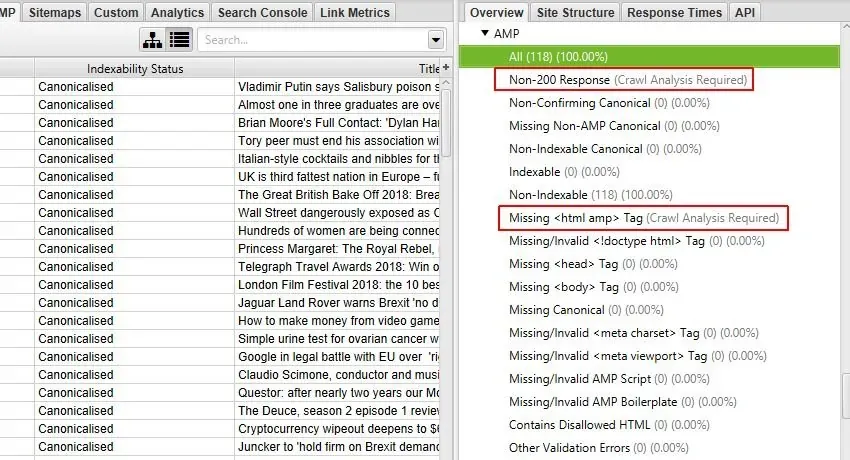
AMP tab filters
Here are all the Screaming Frog filters for a granular analysis of a website’s AMP version.
- Non-200 Response.
- Missing Non-AMP Return Link.
- Missing Canonical to Non-AMP.
- Non-Indexable Canonical.
- Indexable.
- Non-Indexable.
- Missing HTML AMP Tag.
- Missing/Invalid Doctype HTML Tag.
- Missing Head Tag.
- Missing Body Tag.
- Missing Canonical.
- Missing/Invalid Meta Charset Tag.
- Missing/Invalid Meta Viewport Tag.
- Missing/Invalid AMP Script.
- Missing/Invalid AMP Boilerplate.
- Contains Disallowed HTML.
- Other Validation Errors.
For details on each filter, see the section dedicated to the AMP tab.
Crawl Analysis and URLs with errors
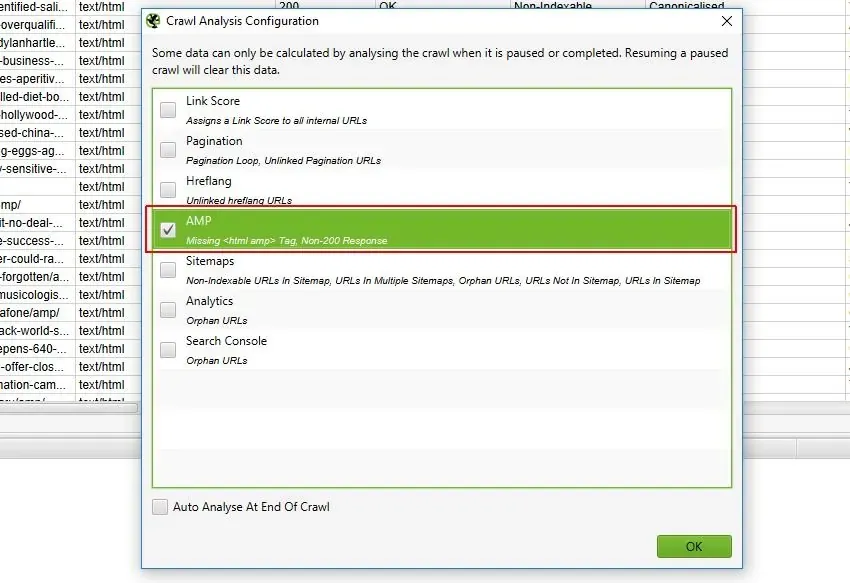
Crawl Analysis lets you easily find every AMP URL that doesn’t return a 2xx status code and needs fixing.
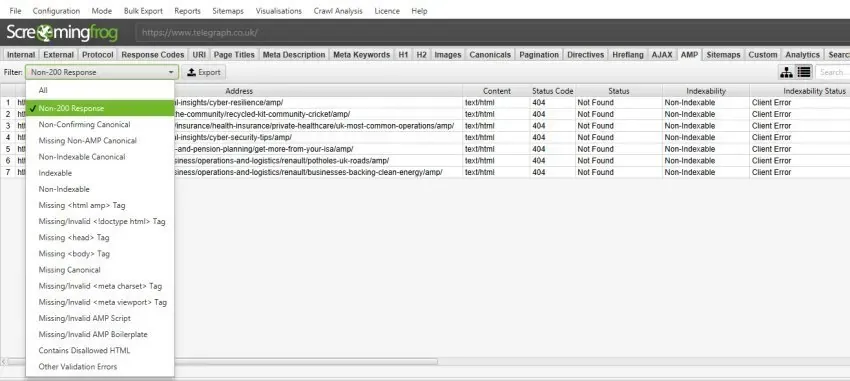
To find the source of the AMP URL errors, click a URL in the top pane and then the Inlinks tab at the bottom.
Remember that ‘amphtml’ links are references to a URL via a rel="amphtml" link in the HTML head.
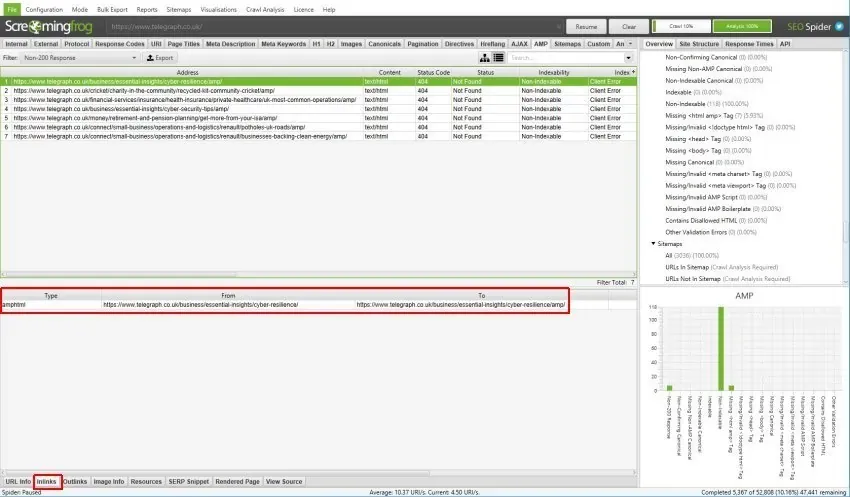
Here’s a close-up of the ‘Inlinks’ tab.
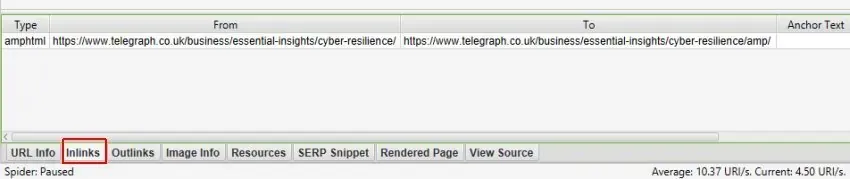
In this example the HTML URL (https://www.telegraph.co.uk/business/essential-insights/cyber-resilience/) has a rel="amphtml" link tag to its AMP version (https://www.telegraph.co.uk/business/essential-insights/cyber-resilience/amp/), which returns a 404 status code.
Once you’ve found all the errors between the HTML and AMP versions, export the data from 1Bulk Export›2AMP and decide where to start optimising.
Uploading and checking AMP URLs separately
Alternatively, you can check AMP URLs separately in list mode, uploading a list from a file or entering it manually and crawling it.
The recommended approach is to check desktop and AMP equivalents together: upload the desktop versions and change SEO Spider’s configuration as follows.
First, switch to List mode from 1Mode›2List.

By default, Screaming Frog sets the crawl depth to ‘0’ in list mode, so only the uploaded URLs are crawled.
For our purpose this needs removing in 1Configuration›2Spider›3Limits, because the AMP versions (at crawl depth ‘1’) must be crawled too.
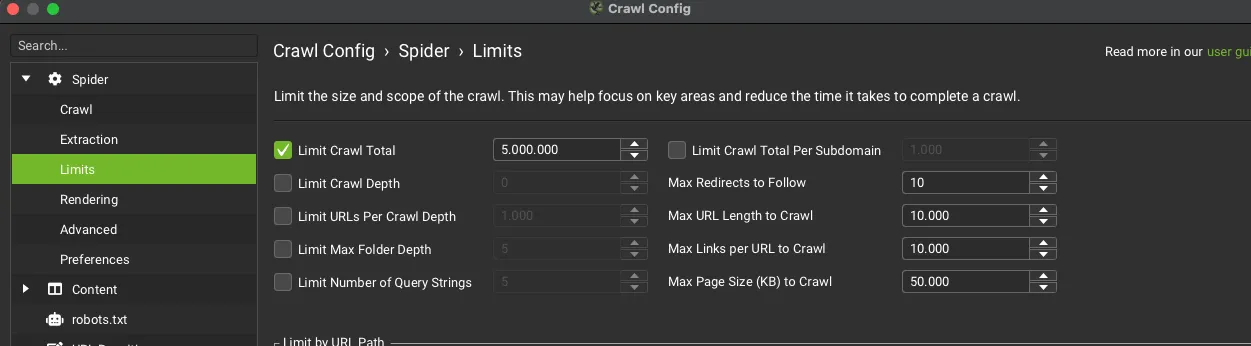
With no crawl depth limit, the Spider crawls every uploaded URL and the links it finds, as in “Spider” mode.
So, to crawl only the AMP equivalents and no other internal links (otherwise we’d just repeat the full-site crawl described above), disable all resource and page links in 1Configuration›2Spider›3Crawl except AMP links.
With this set up, add the URLs to crawl, run the crawl and follow the process described above.
Video tutorial
Questions about AMP Analysis?
These guides come from real projects. If something in your crawl doesn’t add up, or you want to apply this process to your site, get in touch.
 Author.Raffaele Visintin.Search & Strategic Marketing Advisor
